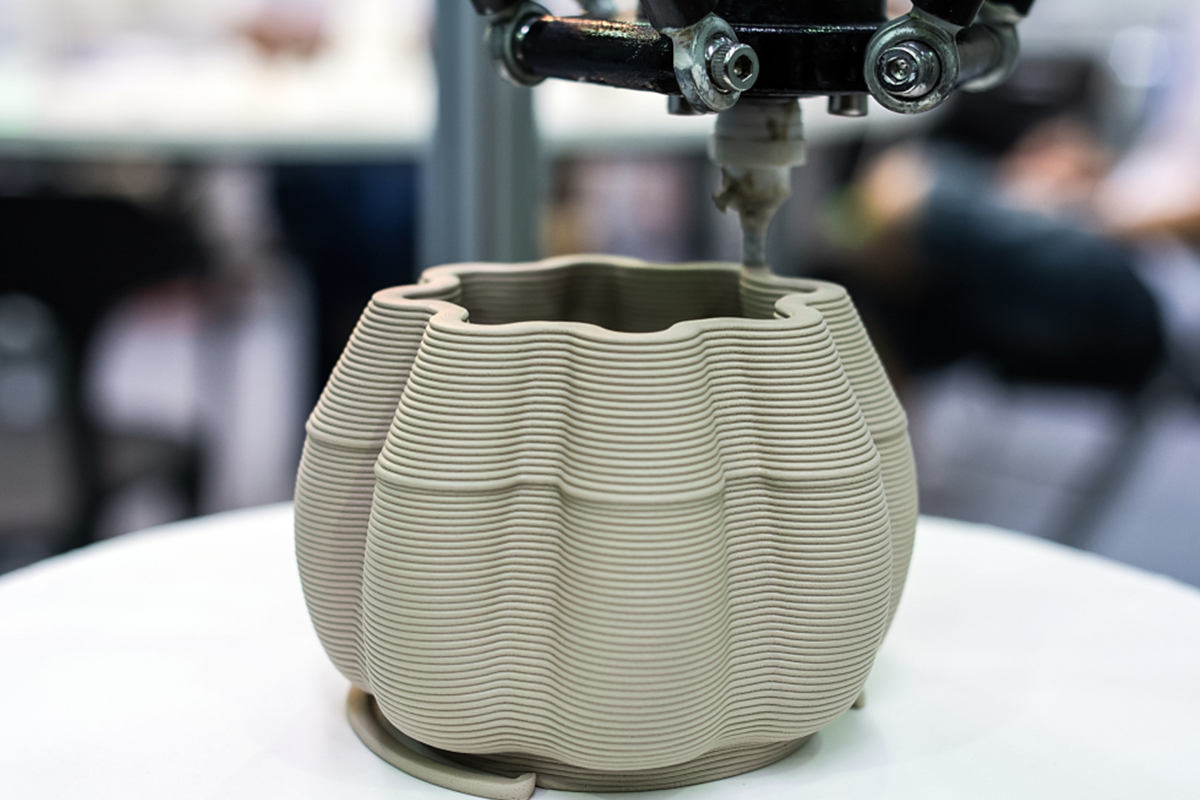
Great 3D printing tips for beginners in New Zealand
Tips & Tricks for printing with PLA filaments
The printing temperature guidelines for printing with our PLA filament is approximately 210°C. As each desktop 3D printer has its own unique characteristics, you might need to tweak your temperature settings a bit to get the best results. To obtain optimal results for your prints you need to take into account variables like your 3D printer’s nozzle diameter, your printing speed settings, and layer height.
PLA has much less tendency to warp compared to ABS. Therefore, it can be printed both with and without a heated print bed. However, if your desktop 3D printer does have a heated print bed it is recommended to set your print bed temperature to approximately 40° to 50° C.
A good first layer adhesion is of the utmost importance in obtaining the best results for your prints. There are many tricks to get the first layer of your PLA print to stick better to the print bed of your 3D printer.
Tips & Tricks for printing with ABS filaments
Use polyimide tape (Kapton tape or PET tape). ABS prints usually stick better to polyimide tape than to the print bed. When preparing the print bed it is better to have small gaps between your strokes of tape, rather than having overlaps. Overlaps of smaller pieces of tape may cause difficulties later on during the print process.
Coat your print bed with hairspray. ABS has a tendency to stick really well to extra strong hairsprays.
Coat your print bed with ABS juice. Dissolve a little piece of ABS in 50ml of acetone. The acetone should get slightly cloudy. To make the surface of your print bed stickier, you can lightly coat your print bed with this cloudy ABS/acetone mixture. Please make sure not to use too much ABS in your juice as it will make your prints stick too well and be extremely hard to remove.
PET tape and Kapton tape are unlikely to leave a residue on your print bed.
Take Note: Hairspray and ABS/acetone juice coatings will leave a residue on your print bed.
PLA prints usually stick really well to blue masking tape. When preparing the print bed it is better to have tiny gaps between your strokes of masking tape, rather than having overlaps. Overlaps of smaller pieces of tape may cause difficulties later on during the print process. We have tested a wide variety of masking tapes and found that the best results can be obtained with blue masking tape.
Coat your print bed with hairspray. Like ABS, PLA has a tendency to stick really well to extra strong hairsprays.
Blue masking tape is unlikely to leave a residue on your print bed. A hairspray coating, however, will leave a residue on your print bed.
Small part failure
When printing small parts the number one failure problem will be due to layer times being too short. A general fix for this is printing multiple parts or setting a minimum layer time setting. This will give the lower layer time to cool down before new filament is applied to avoid melting and excessive shrinkage.
Acetone:
Not happy with the surface of your ABS part? Try painting it with some acetone, this will melt the outside layer of ABS wherever you apply it and give it a shinier/smoother surface.
ABS Glue:
ABS glue is a great addition to any 3D printer operator’s toolbox. This slurry of acetone and ABS has many practical uses such as:
1: Bonding small parts together to create larger or more intricate ones (it’s just a bit easier to apply than straight acetone).
2: Improving the surface finish of your part (simply paint it on or dip your part into it).
3: Mending cracks in your parts (if you don’t feel like reprinting/redesigning them).
4: Use it as an adhesive on your heated bed plate to prevent lifting/shrinkage of your ABS part.
How to make ABS glue:
1: Use a small glass jar with an airtight lid. You can find these at most hobby shops. Empty nail polish bottles also work by they are small.
2: Fill about halfway with straight acetone (or however much you’d like if you’re using a larger jar).
3: Add ABS. ABS takes time to completely dissolve in acetone, so the smaller amount you use the quicker the results. We like to simply print a one-layer thick square sheet (or just start any print and stop it after the first layer), and then cut it into pieces. Snipping small pieces off the end of your filament works too, but it’ll just take more time to dissolve.
4: Wait and stir. Repeat until all the ABS is dissolved.
There’s no perfect ratio of ABS to acetone. Just use less ABS to make a thinner solution (great for surface finishing), or more ABS for a thicker solution (great for bonding or mending parts).
What temperature to 3D print your filament at?
While each 3D printer is different and you will need to play around with the temps to get the best print, here are some starter temps for you; these are all temperature profiles that are verified and confirmed print temps on the MakerGeeks.com 3D Printers (9 different machines from pre-built D3 and D4 to our own DIY custom Reprap printers) with the actual filament we sell to you... so they will get you 99% of the way there!
PLA | Glow in the Dark PLA | ABS | Glow in the Dark ABS |
195°C - 210°C | 210°C - 215°C | 240°C - 256°C | 250°C |
LayBrick | LayWoo-D3 | PET | Taulman 618 Nylon |
175°C - Smooth | 165°C (light coloured wood) 210°C (very dark coloured wood) | 210°C | 260°C |
EcoFlex PLA | Taulman 645 Nylon | ||
210°C | 265°C | |
How do I get my filament to stick and STAY stuck?
Tips and tricks for printing with your 3D printer:
If you are printing at 0.1mm, set your height to 0.18mm on your feeler gauge and 0.23mm on a 0.3mm resolution. These values may vary depending on whether you are building with raft or on your specific design so these values should be used as a guideline.
When printing with dual nozzles it is essential to have both nozzles set at the correct height to ensure the second nozzle does not dislodge your part when travelling over it.
2. For ABS printing with a heated build plate: Preheat your build plate to 110 degrees before levelling.
3. When printing with ABS: It is always recommended to use kapton tape. ABS adheres well to kapton tape and being replaceable will help to protect your build platform.
Use “ABS juice” when printing with ABS on kapton tape: Seeing a 10 hour print fail due to the part becoming unstuck is very disappointing and frustrating. I found this trick was a turning point for me. Designs I was too afraid to print with or without rafts I have no problem with now. Take approximately 50ml of acetone in a glass container or suitable plastic container.
Place approximately 1 teaspoon of waste ABS into the acetone, stir and leave the ABS to dissolve. Once it has dissolved, use a lint free cloth or paper towel with some new acetone to thoroughly clean your kapton tape. Apply the “ABS Juice” to a lint free cloth or paper towel and wipe it on your build platform. You will see a hazy film deposited on your build platform. Try to achieve as smooth a finish as possible. Then re-level your build plate.
After two-to-three builds, get some new acetone and wipe the “ABS juice” around to recoat or reapply if necessary.
4. When printing with PLA: It helps to use blue masking tape on the glass provided. Another platform material to consider is acrylic sheeting. PLA adheres well to acrylic and will give you a very flat finish on the bottom of your part. The parts can be difficult to get off and damage your acrylic plate and parts if care is not taken. If your parts are almost impossible to remove try raising your nozzle height so the first layer is not heavily pressed onto you acrylic but still adheres.
5. Speed: As these machines develop, the build speeds are increasing. The speed with which you print will really come down to how well your build plate is levelled and nozzle height is set at during the first couple of layers. There is no point in building fast if it’s not sticking to your plate. Also, surface finish and accuracy will lessen with build speed. So it depends on whether an item is a rough draft or a finished product. If you trust your printer and everything is set correctly, printing through the night when you are asleep at a lower print speed doesn’t really matter to achieve a better product.
Problem Solving:
1. Unloading filament: If you are finding it difficult to unload your filament DO NOT pull excessively on the filament. It will tend to snap off just below the extruder gear which will result in a lengthy process of dismantling your extruder to remove the filament. Instead, run the load and unload program a few times to really heat the filament. It should come free fairly easily.
2. Blocked nozzles: Before trying to remove the nozzle to clear the blockage it always pays to try running the load/unload program a few times. Generally, this will clear the blockage. If this does not work always remove the nozzle when it is hot. This needs to be done with great care as the nozzles are easily damaged and burning yourself is very likely. Once the nozzle is removed, place it thread side down on an oven tray.
Heat the oven to 230 degrees and place the nozzle in the oven. Once hot the plastic should slowly run out of the nozzle. Very carefully remove the nozzle with pliers and run some 0.35mm wire through the nozzle from the tip backwards to remove any excess plastic. As with removing the nozzle, the head must be heated before re-tightening.
3. Leveling: When you first get your printer make sure you practice levelling your print bed, it may be a tedious and very boring job, but it is one of the key factors to a successful print. Also, the more often you familiarise yourself with levelling the faster and more accurate you will become at this task.
4. Calibration: When you first get a 3D printer up and running, print out lots of small cubes. It's quite a boring object, but it can help ensure you have a good setup and calibrated machine. You can print these solid to test for over extrusion and size calibration. You can also print hollow to test for accurate perimeter width settings in your slicing program. This will ensure you have accurate model features and improved strength of parts when you have the perimeter width setting and extruder flow rates correctly defined.
5. Maximize your build: Know your build area. When designing your part, keep in mind your build area. However, your printer’s build volume does not have to limit the size of your final model. Be creative! Clever layout in your build area can help you get larger prints. For instance, the diagonal space from top to bottom in your build area will give you the longest build size of your printer.

